
This article is an essential guide for winter photographers looking to capture the beauty of the season. We’ll be exploring the best films available for taking photos in cold weather conditions and providing tips on how to get the most out of your equipment. From choosing the right film stock to crafting a unique composition, this article will give you all you need to know about creating stunning winter photography. With detailed reviews, editing techniques, and advice on set-up and post-processing, we’ll give you the tools necessary to take stunning images even in frigid temperatures. Get ready to layer up and hit the slopes; it’s time to make some winter magic!
Here are the top film stocks that work well with white tones.
- Kodak Portra 400 and other Portra stocks
- Kodak Portra 160
- Fujifilm Superia X-TRA 400
- Ilford HP5 Plus Black & White
- JCH StreetPan
- Kodak Ektar 100
- Kodak Ektar 100
- Fujifilm Velvia 50
- Fujifilm Velvia 50
Winter is here and it’s time to get out and shoot. But what film should you use for winter photography? With so many options available, it can be hard to decide. We’ve broken down the best types of film for winter photography so you can pick the perfect one for your next shoot.
Kodak Portra 160: This classic color negative film is a great choice for winter photography. Its fine grain makes it ideal for capturing details, while its bright colors will help bring life to your images. Whether you’re shooting landscapes or portraits, Kodak Portra 160 is an excellent choice.
Fujifilm Superia X-TRA 400: If you’re looking for a good all-around film that won’t break the bank, this one is a great option. It has vibrant colors and good sharpness, making it perfect for capturing all the details in your photographs. Plus, it has a fast ISO rating of 400 which means you can take photos in low light without worrying about image noise or blurriness.
Ilford Delta 3200 Professional: If you’re looking for something that’s more suited to night photography, then Ilford Delta 3200 Professional is a great choice. It has an ISO rating of 3200 which gives you plenty of flexibility when shooting in low light conditions. Plus, it produces high quality black and white images with incredible detail and contrast.
Whether you’re shooting landscapes or portraits, there are plenty of options when choosing a film for winter photography. Kodak Portra 160 is a classic color negative film that offers great detail and vibrant colors; Fujifilm Superia X-TRA 400 is an affordable all-round option; and Ilford Delta 3200 Professional provides high quality black and white images with incredible detail and contrast – perfect if you’re looking to capture night scenes in the winter months! So why not grab some film today and start experimenting? Who knows what stunning shots await!
More In Depth Winter Film Explanations
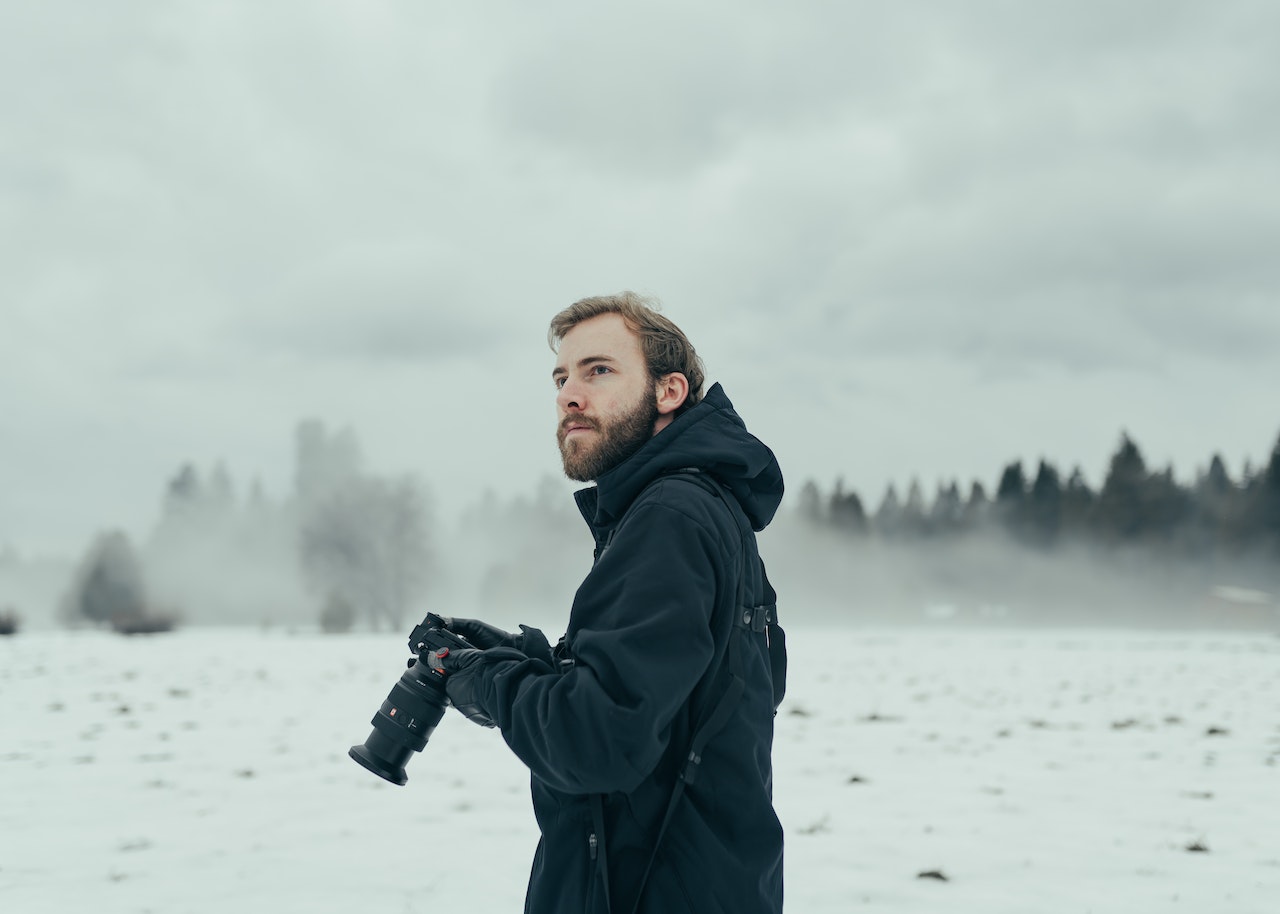
Snow is a natural occurrence that is both extraordinary and breathtaking. Not everyone has the opportunity to view it, let alone experience the noise-reducing impact it has, the lullaby-like crunch it makes under their feet, or the pillowy thump it makes when a mound of it falls from a tree.
Taking photographs in the snow may be an amazing experience, but you need prepare for it in advance. There are certain movies that will play beautifully whatever the weather, while others may have trouble. When your scene is made up of dazzling layers of white powder, there is also the subject of how exposure should be handled.
Over the course of my career, I have made scores of films, many of which have been analyzed on this website. I have also filmed some films in the snow, with varying degrees of success. In this article, I will discuss what I consider to be the “best” film for snow photography, and I will also offer some suggestions for how you might select your own film.
And because snow may fall in a variety of lighting scenarios, I’ll organize my top film selections as follows: sunny, cloudy, shaded, and at night.
The film that performs the best when photographing snow in direct sunlight.
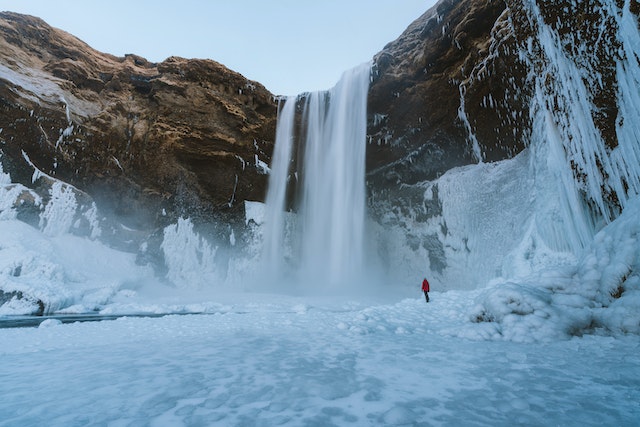
Snow can add a large amount of contrast to a picture, and this effect is accentuated when the afternoon light is allowed to shine without any obstructions.
If you use slide film, you might be able to take advantage of this contrast; nevertheless, exposure mistakes can make your presentation look lifeless and devoid of any texture. Even if you take all of your measurements extremely carefully, there is still a possibility that some of your exposure may be missed.
Negative film with a broad dynamic range and latitude, such as Kodak Portra 400, is likely to produce great results while preserving a high level of detail because of the following reasons:
Kodak Portra 400
High-resolution, high-contrast, medium-ISO films like JCH StreetPan 400 are the kind of black-and-white film that I prefer to use when the sun is shining brightly. Since monochromatic emulsions have a tendency to be even more tolerant of overexposure, an additional layer of contrast can be added for an effect that is much more captivating:
JCH StreetPan 400
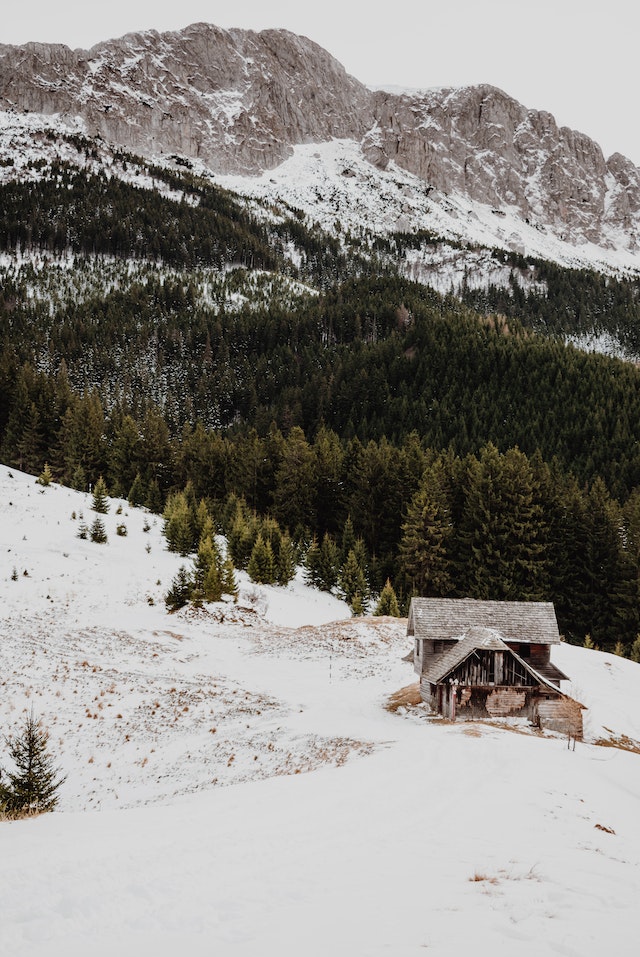
The film that produces the best results when photographing snow under cloudy or gray conditions.
Clouds are almost always present when there is heavy snowfall, which may make everything appear pretty dreary. Using films with a high contrast may give your photographs a more striking appearance. Despite this, my preferred method for photographing this sort of weather is to make use of the predominantly monotonous look in order to attract the attention of the spectator with a few colorful features that may be created using high-contrast, high-latitude films like as Kodak Ektar 100. You will need to pick a subject that sticks out for this to work; the white-out surrounding them will provide the illusion of additional contrast while still keeping some of the texture in the snow:
Kodak Ektar 100
The best film for taking pictures of snow when there is some shadow.
I adore slide film. Slide film scans and prints may display more color and contrast than typical negatives, which can perform wonders in snowy scenes. In addition to appearing enchanted in person, slide film scans and prints can.
Because slide film has a limited dynamic range, the best results can only be achieved in shaded parts. In these locations, the contrast of the sun against the white won’t entirely empty the snow of detail. Even Ektachrome E100 from Kodak, which is famous for the amazing exposure latitude it provides, has trouble working in conditions like these.
On the other hand, a shady location, such as a poorly lighted woodland on a sunny day, might offer some opportunity to catch the color of snow in all of its grandeur. Slide films like Fujifilm Velvia 50 may do wonders for you:
Fujifilm Velvia 50 was used in conjunction with the Olympus PEN FV. Slide film has exactly the right amount of dynamic range to capture the texture of snow even though this image shows a sunlit area of a snow bank. If you intend to create a picture that is comparable to this one, you should think about bracketing your exposures.
Fujifilm Velvia 50
The film that is ideal for nighttime photographs of snow.
The wintertime is not a dull time of year. When turned on at night, holiday lights may bathe the neighborhood in a rainbow of warm hues, creating an atmosphere that is both inviting and merry. On the other hand, a bleak blizzard might evoke a feeling that is diametrically opposed to joy. No matter what your objectives are, there is a good possibility that the film with the higher ISO will be the one that is the simplest to shoot with.
CineStill 800T is an excellent option for color film to use in these circumstances. It’s sensitive enough to be functional without a tripod, and its chemistry is fine-tuned for capturing artificially-lit subjects. When filming situations with a lot of contrast, the film’s vast dynamic range gives the filmmakers additional benefit. Lead note that clicking on the link above will take you to an article that provides further instruction on how to film this movie throughout the day.
However, you should be aware that CineStill 800T comes with a rem-jet layer, which, if the film is advanced fast in dry air, has the potential to create static discharges (such as in a heated house). Because this is not often an issue outside, it is possible that it would be preferable to rewind it while you are still outside.
Static discharges have the appearance of red blobs or bolts of lightning. In most situations, the artifacts are undesirable, despite the fact that there are certain settings in which they might appear rather amazing.
CineStill 800T
Advice on how to shoot winter scenes with film.
You are not required to use the film that I propose in this article in order to produce nice images or even better ones. My decisions are influenced by the graininess (texture) of the film, the presence or lack of specific color qualities, the film’s ISO, and most crucially, its dynamic range. Please feel free to use it as a reference for your particular decisions, and please feel free to add your recommendations in the comments section. Thank you.
You may also try experimenting with different exposures, such as:
Because slide film is so sensitive, you should meter it at Sunny 22 (or underexpose it by one to two stops in order to catch the snow’s texture) if you plan on shooting it outside in the open.
Keep in mind that your light meter may under-expose your snowy images as it may perceive the shade of snow to be in the 18% medium grey — which is wrong (the snow should show as the brightest section of your photograph) (the snow should appear as the brightest part of your image). So if you’re photographing anything that’s mostly white with snow using a meter, add 1-2 stops of exposure.
When filming a video outside in the winter, there are a number of potential pitfalls that you need to keep an eye out for. The extreme cold can completely kill your battery, the wet snow may cause your camera to start acting up due to the moisture, transitioning from the extreme cold to warmer temperatures indoors will fog up even the best lenses and viewfinders, and the bright, bright snow can throw off your meter and cause your scans to come back underexposed.
In light of this, we guarantee that by the time you reach the conclusion of this piece, not only will braving the icy temperatures to capture the photo you want become enticing, but it will also become simple. Allow us to assist you in climbing out of that creative rut you’ve fallen into this winter.
First things first, let’s talk about your exposures because you have a few different metering choices. Utilizing the meter that is built into your camera is the most convenient choice. Keep in mind that the aforementioned meter will ALWAYS provide you with a reading for the intermediate gray value. Aim it at something with a white color? It will be interpreted as being gray. The same goes for something that is black! Taking a reading of the snow and then adding two stops of exposure compensation would be a decent rule of thumb to follow. Therefore, if it shows f/5.6 at 1/1000th, you should shoot it at f/2.8 (f/5.6 minus f/4 equals f/2.8!). Leave your f-stop at its default setting of f/5.6 and reduce your shutter speed by two stops to 1/250th of a second (1/1000 – 1/500 – 1/250). This will maintain your depth of field. You will be able to get two stops of exposure by using either approach. Why make two stops? This is something that we encourage since the brightest exposure you can get while still maintaining detail is two stops above middle gray. If you increase it any further, you’ll have a wonderful exposure, but the snow will lose all of its detail in the process.
Your hand-held meter is yet another choice available to you. If you have a hand-held light meter and you’re a member of the “bulb in 45” camp, which means that you expose for the shadows by retracting the bulb in and directing the meter 45 degrees towards you or the ground, we strongly urge that you Perform NOT do the 45! Instead, retract the bulb to guarantee that no other light source is hitting it and that it is in the shadow. Simply position it towards your camera and take a reading when you have done so. Because snow acts as a great reflector, the instrument will produce a more accurate reading if you tilt it so that it faces the ground. We are aware of how much of a negative impact it may have on the atmosphere that one is attempting to create by sticking a light meter in the face of another person. Therefore, instead of positioning it directly in front of your subject’s face, you should spin around so that you are facing the same direction as your subject and take a reading directly in front of your own face. As long as you remain in the same lighting conditions, the exposure settings should remain the same. There isn’t any strange light meter sticking out of their grill; just yours does. When working with color negative film, you should always err on the side of overexposing the image. Be aware that depending on the film material that you are using, an excessive amount of overexposure can cause color changes in the scans that you create.
The basic color of the film is cyan, which makes it extremely neutral. Even though it is quite bright, you have a lot of leeway in terms of how much you may overexpose this film if you want to get a shallow depth of field.
Portra 160 is another fantastic option that has a fairly neutral color base to work with (even if it is a magenta color base). We suggest giving it a score of 100 and continuing with regular development. You have the choice between a shallow depth of field at an ISO of 100 or a wider depth of field at an ISO of 320, as we have seen it photographed at 320 and pushed one stop with wonderful effects.
In general, HP5 is an excellent choice for a film stock. It has an incredible dynamic range, allowing you to shoot in conditions ranging from extremely dim light to full sunlight on the same roll of film and yet achieve stunning pictures with very little to no grain discernible. This film material may be pushed in developing up to three stops further than normal. 35mm is a different matter, but we’ll save that comparison for a separate blog article regarding 120 grain versus 35mm grain.
The tried-and-true black-and-white film that may be used for a variety of purposes. This film can also withstand abuse in both the positive and negative directions, which means that you can either overexpose or underexpose it and still get fantastic results from it. When scanned on the Frontier, we have seen rolls that were up to five stops overexposed and still retained clarity in the shadows and highlights. In contrast, there have been rolls that have been underexposed by up to two stops while still retaining a highly distinctive appearance; nonetheless, you should anticipate seeing grain and a little amount of crushed blacks in these. We are in love with this film that was scanned for the highlights and metered for the shadows!
The fact of the matter is that we run into more issues when it is chilly outside since both humans and camera equipment move more slowly. Allow some time for your equipment to become acclimated to the temperature. Because the cold can significantly impair the performance of batteries, you should always bring along some spares. If you have an older film camera that does not require batteries, such as a Rolleiflex or a Hasselblad, or a camera that does not have an inbuilt light meter, then you are in luck since you do not need to worry about your batteries running out.
The use of hand warmers and gloves may completely alter the game. After you have shot through a roll, your small fingers are going to be frozen, which will make it difficult for you to reload your weapon. Also, keep in mind that if you go from an extremely cold environment to a warmer area, there is a good chance that some condensation may form on the glass components of the camera, including the viewfinder, the mirror, and the lens. This includes any glass component. Be advised that it will take some time to adjust to the higher temperatures, so plan accordingly. If the lens has not yet warmed up, wiping it will not actually cure the problem. You can erase it, but it will appear again immediately away! You’ll need to keep a very sharp eye out for the condensation because it might be quite faint; nonetheless, via the viewfinder, it will appear as though your image is a little bit blurry. It’s possible that the reflection won’t show up on the lens, but it might be in the camera’s internal mirror. It will go away in the end, but you should be prepared for the fact that it may take some time!
There’s no reason to keep the camera inside just because it’s chilly outdoors. Bring it with you! We really hope that these suggestions will help you go out there and keep looking for your unique voice and vision.
0 Comments