13 Tips For Better Landscape Photography
Composition is one of the most crucial aspects to consider while taking landscape photographs. It has the power to build or destroy a reputation. Having a fundamental understanding of the rules that govern landscape photography composition will assist you in producing photographs that are more aesthetically attractive.
These things come easily to certain people, and they have an innate comprehension of the fundamentals behind compositional structures. They are said to have a “excellent eye.”
For everyone else, these are skills that need to be mastered, just like every other aspect of photography.
There is always opportunity for development in one’s photography skills, notwithstanding the type of photographer one may be. The following advice will assist you in developing landscapes that are more aesthetically attractive.
13. Going Beyond the Rule of Thirds and More
The “Rule of Thirds” is one of the very first compositional rules that most of us acquire when we are just starting out as amateur photographers. You probably aren’t completely unfamiliar with the idea. The basic idea behind it is that the way the human eye is naturally drawn to items around one third into a picture provides the basis for its operation.
The rule of thirds is a tried-and-true method for creating striking photographs, but you shouldn’t rely only on it when composing landscapes.
There are a few additional tips that might assist you in arranging your landscapes in a manner that is more aesthetically pleasant to the eye. The “Golden Ratio” and the “Golden Triangle” come in at top and second place, respectively.
I’m not sure what makes them golden, but I do know that using them may enable you deviate from the rule of thirds, which will allow you to create even more aesthetically beautiful compositions in your landscape photographs. Having a visual representation of these two rules is the most effective method for grasping their meaning.
Applying the principles of the Golden Triangle to the design of a landscape. Advice on How to Improve the
Composition of Your Landscape
The illustrious Golden Triangle
Applying the principles of the Golden Triangle to the design of a landscape. Advice on How to Improve the Composition of Your Landscape
The Sacred Golden Mean
When it comes to the composition of your landscape photographs, using these concepts will eventually become second nature to you the more you practice them.
You can see these laws in action while you set out your landscape photography composition thanks to a feature that is now available on a wide variety of cameras that allows grids to be superimposed in the viewfinder or on the LCD screen.
12. Symmetry
There are some laws that must be followed in order to understand and develop your photographic composition, but there are other occasions when those rules can be ignored. When you apply symmetry in your photographs, for example, this is one of those situations.
In many respects, symmetry is aesthetically pleasant to our eyes, and photography is not an exception to this rule. Try to find symmetry in the landscapes you picture, whether it be via the use of natural or man-made components, or even both.
To make a wonderful shot that is balanced and symmetrical, it is possible to create a contrast between the natural lines of a landscape and the harsh, straight lines of a building.
A photograph showing boats moored in the harbor against the backdrop of a stunning gloomy sky. The use of symmetry in the composition of landscape photographs
11. Be sure to incorporate the foreground
People have a habit of automatically associating the term “landscape photography” with expansive shots of things like mountains, oceans, skies, and the like. These features unquestionably contribute to the attractiveness of the landscape, but the foreground component is frequently the one that makes or breaks a photograph.
In the field of landscape photography, there is a proverb that goes as follows: “place a great foreground in front of a magnificent background.”
Many of the landscape photographs I’ve shot have had excellent promise but were ultimately unsuccessful because they lacked the foreground interest necessary to complete the picture. A compelling foreground will attract the attention of the spectator, particularly when using a wide lens, which magnifies the appearance of nearby things to give the impression that they are much further away.
Include some intriguing elements, such as rocks or flowers, in the foreground of the scene, and then use those elements to draw the viewer’s attention to the more alluring features in the backdrop.
A shot with magnificent coloration that features a mountain and a spectacularly lighted night sky in the backdrop, with a rocky foreground in the foreground. Utilizing the foreground as a compositional element in landscape photography
10. Build Your Landscapes in Layers
Layers may be found in almost any natural setting, and they are one of the distinguishing aspects of natural landscapes. There are examples of them everywhere you turn in the natural world. Always at a minimum, there are two: the ground and the sky. However, in most cases there are a great deal more.
Layers of different elements, such as sand, grass, trees, water, mountains, clouds, and sky, are frequently present in the same image. That doesn’t even take into account the effects of human activity.
Make an effort to compose your landscape photographs in such a way that you catch a range of layers inside the same frame in order to display the many components of the scene. There are times when these layers will align perfectly, and there are other instances when they will crisscross and not have any pattern to them. Both may have attractive qualities.
9. A Natural Composition
You probably already have some idea of how dramatic framing can be since you’ve probably observed how drastically an image may change in appearance when it’s put into a frame. Finding natural frames in the environment you are photographing may have a significant impact on how the image appears and reads.
I’m not talking about displaying your prints by building natural frames out of driftwood as some people do. When I say “shooting through,” I mean firing through a space in some trees, through a window, through the space between two buildings, or beneath a bridge. You may even take a picture within a picture if you want to.
You have a lot of room for creativity with this. The viewer’s attention may be focused, more attraction can be added, or less appealing aspects of the scene can be hidden.
A image taken of an ice scene taken via the window of a cabin. The use of natural framing in the arrangement of landscape photographs
8. Ensure That Your Topic Is Comprehended
When you look at an image, your eye is looking for a path to follow and a destination to stop at at the same time. A chaotic setting that does not attract the viewer’s attention is the single most effective way to damage a photograph.
You won’t spend much time looking at an image if your eyes are trying to discover something specific to concentrate on but coming up empty. The inclusion of a distinct topic in your landscape photographs is essential to the process of making photos that are attractive to the eye.
Understanding what attracts the viewer’s gaze is essential. There are a number of factors, including size, color, contrast, and brightness, that influence the path that the viewer’s gaze takes across an image. Consider what the primary element of the scene is that you want the audience to concentrate on and which section of the scene you want them to glance at first when they arrive.
A cluster of rocks in the middle of a calm sea at sunset. Composition for use in landscape photography
7. Get Low
You may obtain a pretty fascinating perspective on the scene that you are taking if you position your camera in such a way that it is quite near to the ground. It gives you the ability to incorporate more foreground elements into the image without necessitating the removal of the backdrop or the sky.
When photographing with a wide-angle lens, items that are further away will look smaller than those that are closer, which means that the ground will appear larger in your frame as you go closer to it.
This strategy has the potential to yield excellent results if the foreground features a number of small, appealing things, such as flowers. If the ground has an intriguing texture, like sand, it can also work well for this purpose. When I’m capturing beach scenes and seascapes, I turn to this method rather frequently. When the foreground has moving water, such as a river, it may also be an effective compositional choice.
A bright landscape picture of a shore with a lighthouse in the backdrop of the picture. Composition for use in landscape photography
6. Internal contemplation
You’ve definitely noticed that reflections are popular in landscape photography, and there’s a good reason for this: you can capture beautiful scenes with them. A picture that has a reflection has a certain aesthetic quality that’s incredibly appealing to the human eye. They are able to deceive our eyes, which compels us to take a closer look at the picture.
Reflections are most typically seen in still bodies of water, such as a placid lake; but, they may also be found in other locations, such as windows. The use of reflections in landscape photography is a fantastic method to create harmony in the scene.
Stunning mountainous scenery with rocky outcrops, reflected in the lake below. Composition for use in landscape photography
5. Follow the Leading Lines
As I indicated in suggestion number x, leading lines are components that are contained within your frame and serve the purpose of guiding the viewer’s gaze through the composition. The majority of the examples of leading lines in landscape photography that you will see will employ straight lines. However, your lines may still guide the viewer’s eye on a trip across the image even if they are not straight.
In some cases, I believe that curving lines that guide the eye can be more pleasant, particularly in settings that are entirely natural and do not contain any man-made things. The eye may be guided in a way that is much more naturally occurring by following a hiking route, footprints in the sand, or the bend in a river.
An example of leading lines in landscape photography, taken on a sunny day in a grassy area.
4. Zoom In
Even while I prefer the appearance of large landscapes, I’ve found that getting closer to a particular portion of the subject may result in some highly arresting landscape photographs. It is simple to try to capture all that can be seen in a single image, yet focusing on a certain portion of the picture may sometimes provide more interesting photographs.
It’s not uncommon to obtain many photos from the same situation that seem entirely distinct from one another.
This may be accomplished in a few different ways. The first technique, which is also the most intuitive, is to use your feet to get closer to the element of the scene that you want to single out. You also have the choice of using a lens with a telephoto or zoom capability in order to zero in on a certain area of the scene.
Both of these choices come with their share of benefits and drawbacks, but what they share in common is the expansion of opportunities beyond the scope of the current environment.
A picture of a wooden home with a hilly backdrop, next to a bridge that crosses some blue water. Composition for use in landscape photography
3. Create a Dramatic Crop
The picture’s aspect ratio may have a significant impact on the way an image appears and reads to the viewer. The 2:3 aspect ratio is used by the vast majority of DSLR and mirrorless cameras. A more cinematic appearance may be achieved by cropping your photos to a 16:9 aspect ratio. Numerous panoramic photographs employ an aspect ratio of 3:1 or even 4:1.
It is not necessary to take many photographs and then stitch them together into a panorama in order to achieve the dramatic broad appearance. Experiment with cropping your photographs into different aspect ratios to discover how the change changes the overall vibe of the photographs you take.
A breathtaking scene with foggy mountains in the distance. Composition for use in landscape photography
2. Make the process easier
When it comes to landscape photography, the adage “less is more” couldn’t be more accurate. An image that is full of activity and has a lot going on might be quite perplexing to look at. We won’t stare at the photo for a significant amount of time if it doesn’t organically draw us in.
Excluding components from the frame is another strategy for getting around this problem. The usage of minimalism is done rather effectively in some of the most breathtaking vistas I’ve ever seen. Shape or texture are frequently all that are required to create a stunning landscape photograph.
Take a look at your composition and ask yourself which aspects of the scenario you can get rid of to make it more straightforward. It’s possible that you’ll need to reframe your photograph at some point. There will be instances when you need to zoom in closer. It will be necessary for you to frequently pick up your gear and shift into a new position.
There may be instances when there are aspects outside of your control that you will simply have no choice but to incorporate into the frame. It’s possible that you’ll be able to get rid of them in post-production.
A person is seen sitting in a rowboat out on the lake in the evening. Composition for use in landscape photography
1. Strive to Create the Most Beautiful Composition
When you come to a new site, there is a desire to immediately bring out your tripod and set it up for the first decent composition you notice, or the one that is the most obvious. There is absolutely nothing wrong with this, but I would advise taking a little bit more time to investigate the surrounding region and thinking about other possible compositions.
Because of our human nature, we have a tendency to focus on the first item that we notice, even if there are other things that may be even better.
When I am photographing landscapes, I find that this is frequently the case. I’ve picked up the habit of spending a little bit extra time working a subject and looking for additional images that I might like more than the initial one I notice. This has helped me improve my photography.
You can always go back to that initial photo if you can’t find anything better, or you can shoot many compositions from other places like I typically do. If you can’t find anything better, you can always go back to that original shot.
How To Tie The Composition Together
It takes some work to become more deliberate in the way you arrange the elements of your landscape photographs. It is simple to take out your camera and begin shooting immediately, but it will do you well to understand how to pause and reflect on what you are doing as well as how the aforementioned concepts may help enhance your photographs.
What one change has had the most significant impact on the way your landscape compositions look? Do you have any more advice to share? I look forward to reading your responses in the comments section.
Composition Rules in Landscape Photography
Landscape Photography and Its Compositional Guidelines
It follows to reason that the principles of composition are most helpful for those who are just beginning out in photography; yet, they are equally vital for photographers who have more experience since they allow us to reflect on our work in an informed manner.
The Principle of Thirds
The Rule of Thirds is an easy concept to grasp. Imagine that your picture is made up of a grid of nine rectangles, and then attempt to design it so that the key points are located on the lines that make up the grid, or, even better, at the place where two of the lines meet.
When using the Rule of Thirds, I would aim to position the bottom of the horizon on the top third line (occasionally the bottom third line), and I would place a focal point on either the top left or top right intersection of thirds. In general, when using the Rule of Thirds, I would place the focal point on the top left. After that, I would look for a secondary point of interest and attempt to position it on the intersection of thirds that is diagonally across from the first one. This results in the creation of a diagonal inside the image, which often contributes to an increased sense of depth.
The Rule of Thirds may be seen in a straightforward manner in this picture that was taken in Cornwall and features Godrevy Lighthouse.
The sites of interest have been placed at the intersections of the gridlines that constitute the Rule of Thirds.
However, simplicity is frequently the key to a strong composition; the old adage “less is more” might be a beneficial one to bear in mind. It’s possible that the fact that this guideline is so straightforward is the reason why so many photographers are looking for something more challenging.
In general, I prefer to place focus points somewhat closer to the edge of the frame than the Rule of Thirds would say they should be placed. When taking the picture with the camera, it is not a good idea to have the focal points located too close to the edge of the frame. This is because doing so will distort the image. If the shot needs to be cropped for printing or for inclusion in a magazine, it needs extra space around it; hence, adhering to the principles outlined in the Rule of Thirds has been extremely beneficial to me over the course of my photography career.
Golden Ratio and Golden Spiral
The Golden Ratio is a proportion that naturally occurs in the world around us, and humans have been using it in art and architecture for a very long time, either deliberately or unconsciously. It is generally agreed upon that a work of art, whether it be a painting, a building, or a photograph, looks its most aesthetically attractive when important components are arranged according to the Golden Ratio.
So, can you tell me about the Golden Ratio? A mathematician named Fibonacci, who was searching for a mathematical explanation for the beauty of art and design, came up with the numerical value of the Golden Ratio. Fibonacci established the value of the Golden Ratio.
He postulated that if we start with a rectangle whose dimensions are in the Golden Ratio (known as a Golden Rectangle), and then cut a square off of one end, we would be left with another Golden Rectangle. This is because the Golden Ratio is a proportion that occurs naturally in nature. As a consequence of this, the smaller rectangle that was just created may likewise be divided into a square and an even more compact Golden Rectangle, and so on.
If we start with a Golden Rectangle that is highlighted in black, and then cut out a square that is colored red, we will be left with a Golden Rectangle that is smaller (blue).
The ratio of the lengths of the sides of Fibonacci’s Golden Rectangle is around 1.618:1, and this ratio is known as the Golden Ratio. The Golden Ratio is also known as the divine proportion, golden mean, or golden section. The Golden Spiral may be found by connecting the corners of the squares with a curve in order to produce an aesthetically flawless spiral of points. This will result in the formation of the Golden Spiral.
A visual representation of the “Golden Spiral.”
The Golden Spiral may be superimposed in any orientation, and I can locate plenty of my own photographs that exemplify this compositional help. However, I cannot say that I am ever going to be willing to confine myself to using this rigidly while I am out in the field.
Due to the fact that the aspect ratio of a digital single-lens reflex camera (DSLR) is 3:2, the application of the Golden Spiral to photographs taken with digital cameras presents a small challenge. Since this is not a Golden Rectangle, the diagrams referring to the Golden Spiral in this page are approximations, as are the diagrams in the vast majority of other articles found online.
When creating a photograph with the Golden Ratio in mind, we should position the horizon on the dominating horizontal line, and we should position the focal point on the point where the Golden Spiral disappears. Both of these should be done in the same way. But keep in mind that this spiral may be positioned on your picture in one of four different ways; as a result, you have four different possibilities to choose from, exactly like the Rule of Thirds!
The horizon in this picture of Porthcurno Beach in Cornwall is perfectly positioned, and a wave that curves in a way that replicates the pattern of the Golden Spiral serves as a path into the picture.
The photograph of Godrevy is one that works well with both the Golden Ratio and the Spiral, particularly because the horizon is located on the line that is the longest horizontally and the lighthouse is located near to the place where the line disappears. It is also important to note that the rock is located on the spiral.
When the Golden Ratio is used to compose a photograph, rather than the Rule of Thirds, the horizon is placed at a position that is marginally nearer to the center of the image. You may compare the following two regulations side by side down below:
The Golden Spiral instructs us to consider a lead-in line that begins in either the bottom or top corner of the frame and curves its way beautifully into the frame and ultimately to the focal point. This line should lead the eye around the frame in such a way that a good portion of the image is covered.
This coastal view of Cape Cornwall was enhanced by using the headland to offer something more than merely sea on the left side of the frame, and you can see that this does work nicely with the Golden Spiral.
Lines That Lead Into Others and Diagonals
The use of lead-in lines and diagonals is a technique for drawing the viewer’s attention into and around a picture. To some extent, the level of curiosity will increase according to the amount of the picture that we are led around. Lead-in lines are most effective when they connect the foreground to the background, and they should avoid drawing the viewer’s attention away from the main subject of the picture. Therefore, a wall or river should either come to a stop within the confines of the frame or turn and lead back within again.
Find out more by: Vanishing points and lines that lead into them
Because the lead-in line begins at one corner and terminates within the frame, the middle image of these three photographs has, in my opinion, the strongest composition. This is because it draws your attention into the picture without allowing it to leave it again.
The way a path, river, road, or wall is constructed, as well as a wide host of other physical characteristics, may be utilized to guide the viewer’s attention into the scene. When waves are photographed with a slow shutter speed as they recede, it is possible to generate aesthetically beautiful lines that flow from the four corners of the image.
It is not always necessary to use diagonals and lead-ins in the foreground of a composition. When using a slower shutter speed, it is possible to generate movement in the clouds, which draws the viewer’s attention to the primary subject of the photograph. Alternatively, occasionally we get lucky and find a sky with diagonal patterns in it that are just begging to be recorded.
Within this representation of Kynance The snow, and then the beach that follows it, guide the eye from the bottom left corner of the screen diagonally towards the background of the scene.
Additional Concepts for the Composition of Landscapes
It is permissible to place reflections down the centre of a photograph; but, you should make every effort to move the primary focus point to the left or right side of the frame. It is possible that simplifying the image would result in a stronger composition; thus, you should avoid using an excessive number of parts.
The way in which a subject is framed may also be quite effective. When the sky is uninteresting, I frequently rely on trees to build a frame around the subject of my photograph; but, many different things, such as rainbows, clouds, archways, and doors, can also serve this purpose.
Find out more by: Adding a Border or Borders to Your Composition
On the island of Fair Isle, Shetland, you may see a rainbow around the lighthouse.
Consider whether the gate should be open or closed while taking the picture, since gateways may be utilized to draw the viewer’s attention into the frame. It is possible to get a more abstract look in photographs of landscapes by filling the frame with patterns that repeat themselves.
These headlands create a pattern that is repeated over and over, which is broken up by fading tones.
Keep an eye out for objects in the foreground that are an exact match to those in the backdrop. In point of fact, the picture does not necessarily need to be brought together by geometry; other aspects, such as color tones, light, or textures, are also capable of doing so.
The sand dunes in the foreground bend in a similar manner as the clouds in the sky in this particular instance.
Don’t Overdo It
Although the principles of composition are something that everyone ought to be familiar with, there is always the risk of overthinking a picture.
Edward Weston, a well-known photographer, famously stated, “To check the laws of composition before producing a picture is somewhat similar to consulting the law of gravitation before going on a stroll.”
He is making the suggestion that we ought to have an ear for composition. It shouldn’t be necessary for us to always be concerned with the regulations; rather, we should concentrate on developing an appearance that satisfies our tastes. When he wrote that comment, he was most likely already an established and self-assured artist; however, he does make a valid point.
“You don’t take a photograph; you make it,” is a quote attributed to the legendary photographer Ansel Adams.
It is far more accurate to say that a photograph is “made” than it is to say that it is “taken,” and it is difficult to argue with either of these men. The realization that we are the ones who “create” a picture will prompt us to pause and think about the components that are at our disposal. It is not acceptable for us to just take a picture from the location from which we originally noticed the chance, since this would be considered a “snap.” We are above and beyond that as creative individuals.
When we look at a landscape, we have to think about the various possibilities that are available to us: we may search for foreground features, observe how the foreground and background elements interact with one another, or wait till the light is just right, or visit the scene at a different time. We ought to look at this from a higher or lower vantage point, and either go slightly to the left or farther to the right. What differences do the various placements make to the way the foreground and the backdrop interact with one another?
What’s most essential is that we take charge, that we create the picture ourselves, and that we, in the end, come up with a landscape arrangement that satisfies our tastes.
 Photography is an artistic form that often involves using various lighting effects to create a specific desired effect on a particular subject. Landscape photography obviously is a worthwhile genre of photography, and it always has some of the most dynamic images created that are still considered quite dramatic even today. One of the main issues photographers face with landscape photos is how to manipulate the different aspects of light. Lighting is one of those elements that can seem pretty complicated, but once you learn how to use it correctly, you will be surprised at how easy it really is. Here are a few landscape photography composition tips for beginners.
One of the best landscape photography composition tips for beginners is that you should start out using a slower shutter speed. Slower shutter speeds will allow you to take in more depth of field and allow your camera to pick up the light from different points of the scene. It will also make objects appear more distant. Remember that lighting needs to be controlled so that you don’t lose the drama of a scene. You don’t want everything to be swallowed up by the sunlight in the background.
Another landscape photography composition tip is that when you are taking a photograph of a large scene, try to use a larger frame than you would normally use. The rule of thumb is that you should use the same size, height, width, and aspect ratio as you would if the scene was printed in a smaller size. This will allow your viewer to appreciate the fullness of the image.
Yet another common landscape photography composition tip is to use a Fibonacci sequence. The Fibonacci sequence is simply a rule that uses the height and width of an object to tell how many times the image moves towards the next value or Fibonacci point. It uses the golden mean and is named after Italian geometric/mathematician, Nicola Fibonacci. The golden ratio is one of the greatest geometric principles known and used in modern art, including art photography. A Fibonacci sequence can be used to take an image of a landscape or even of a person.
One final tip in this article is to use the golden mean rule when composing a landscape. The golden ratio is based on the idea of the ratio of two elements that create an object’s size and shape. It divides the space into equal thirds, with each of those thirds divided into smaller elements. These smaller elements can then be focused on, using the golden ratio to give focus to each one. A Fibonacci sequence can be used to divide a large landscape into smaller, more manageable sections.
How to Choose Good Landscape Photos There are three basic elements that any good landscape photography photo should have. Those elements are light, contrast, and movement. In order to have a good shot, you must choose shots that clearly show the contrast between light and dark areas, between the different shades of colors, and between the different shapes of elements. In order to have an interesting shot, you must choose photos that show interesting parts of land that you didn’t necessarily notice before because those aspects will stand out even if you don’t consciously think about them. Also, the photo should be composed of large contrasting elements, not just one or two big elements.
The third element of a great composition is movement. Landscape photos must always keep the viewer toward the center, toward the action of the scene. This makes your composition look real. This is also what the camera wants it to do, as the camera automatically focuses on the center when you point the lens toward the horizon. And if the viewer is naturally pulled toward the center, then your photo will be a good landscape photo.
All three elements above are just parts of a basic landscape composition. But there’s still a lot more to it than that. The key thing is that the viewer is kept consistently toward the middle so that everything else looks like real landscapes. Of course, you can start with just a few elements, and expand from there. You can take a simple photo of a distant landscape and turn it into a photograph that shows the effects of light on the horizon, for example.
Examples Of How to Compose Landscape Photographs

If you are new to photography, the basic lesson to learn is how to compose landscape photographs. This lesson is often overlooked by novice photographers who are excited about taking pictures of their subject matter. Landscape photos teach you about light, contrast, and focal points. Learning these basic concepts in photography can help you capture better images of your subjects.
Before you get started learning how to compose landscape photographs, you should learn about composition first. There are actually several composition tips for landscape photography that are important to remember at the same time. One great tip is to think of your composition as a composition. The composition of a scene will determine not only what your final landscape photo will look like, but also how the viewer will perceive it.
How would you describe the weather of Victoria, Australia on the day of your wedding or big day? A great way to describe this weather is to imagine a beautiful beach as the background of your shot. In your mind, you may also want to include the beach as well as the coastline, the mountains in the background, and the surrounding vegetation.
Some other great tips for landscape photography include using mental imagery and learning how to create gentle slopes and angles in your compositions. Soft landscapes are often more calming than harsh or aggressive shots because of the peaceful backgrounds that they are taken in. If you use these tips when composing landscape photographs of beautiful scenery, you will be able to capture these natural moods in your images.
One popular photography lesson tip involves thinking about the emotions that you want to portray through your photography. Have you ever seen a picture of a beautiful sunset? What was the message that was being conveyed to you through this photo? When you look at other similar photos, you may also get some similar ideas. Creating a meaningful message can help you achieve a powerful image. This is especially true in images of beautiful places that you may want to share with your family or friends.
The same can be said for people who are looking for a place to take their family vacation. When you are taking a vacation in a location like Victoria, Australia, it is important to make sure that you have captured the perfect photo in order to make the most out of your vacation. If you have never done landscape photography before, there are a few things that you should keep in mind when trying to learn how to compose images of beautiful nature. These tips include knowing where you want to photograph, preparing the location, and using composition techniques that will make your images more interesting.
If you have been looking for tips on how to take photos of beautiful landscapes, you might consider taking a private photography lesson. You can find a teacher in your area by searching online, or by contacting your local tourist attractions. Many Victoria-based teachers offer private lessons for beginners at an affordable price. These tips on how to compose will not only teach you how to take great images in your own home, but they will also show you how to take great images of private properties that you have visited in the area. Taking such photos can be a great way to create an amazing portfolio for yourself, or to submit them to an art gallery for you to view.
If you are interested in learning how to compose landscape photographs in Victoria, one of the best ways to do so is to sign up for a guided photography lesson. Taking a private photography lesson in Victoria is a great way to learn about composition techniques, and you can also expect to make new friends while you are in the process. If you love to take pictures of beautiful areas, and you are looking for tips on how to take gorgeous images of all sorts of subjects, you can find these types of tips by enrolling in a guided tour in Victoria, Australia.
Photography Composition Tips – Why Photos Look Good

If you are looking for composition tips for photography, then I’m sure you’ve seen a lot of photography blogs and internet articles that tell you exactly what to do. There are, however, some other things that will really help improve your photos if you just take the time and really learn what’s important in a photo. I’ll list five main areas that will help improve your photos if you just take the time to focus on the main points. Hopefully these five areas will motivate you to start focusing on your composition in other photos.
The first of the five major composition tips for photography is to get a hunting camera. Some people use regular point-and-shoot cameras, but I prefer to use a hunting camera since it allows me to focus more freely. Now you can say that with a regular camera too, but what you have to remember is that your main point and target in a photograph is the center of the frame. With a hunting camera, you can free up a good portion of the frame to compose the rest of the picture.
Another very important aspect of composition is lighting. Lighting is extremely important, and if done wrong, can ruin your photograph. As with anything in photography, you get what you pay for. I don’t recommend purchasing a cheap lighting box from Walmart to hold your light. Rather, I would suggest purchasing a specialized studio lighting device, like the Emissive Lamp from Minolta. You can get these at your local photography or photographic store, or you can even rent one online.
Another important aspect of composition tips for photography is to keep your focal point in mind from the very beginning. Make sure you decide what the main subject of your image is from the very beginning. Maybe you want the sun to be the center of your image, or maybe you want to show a bird in flight. Once you’ve made this decision, everything else will fall into place.
Another very important aspect is your horizon line. Try not to be too far away from your horizon line. A long distant tree in the distance can appear blurred and distracting, so always make sure your horizon line is in the center of your frame.
Lighting is another important element of the composition. I tend to use diffusion and spotlights more than I did in the past. Nowadays, I use a combination of these techniques. However, there’s also room for digital photography, so you don’t need to have a darkroom!
The last, but certainly not the least, are your arms. The position of your arms in relation to the focal point in your image is one of the most important composition tips for photography. I tend to hold my camera arm with my elbow straight out in front of the camera. This makes the camera palm light and cuts down on camera blurring. Of course, you can always hold the camera arm at a much further distance, but this is a personal preference.
These five composition tips are by far the most important aspects of photography. Even though it takes some practice and some experimentation to find your own style, these tips will help get you started in the right direction. Keep experimenting until you find your own personal style. Remember to keep it simple. Once you’ve mastered one style of composition, then you can move on to others.
One of the most important composition tips for photography is to keep your model as still as possible. The less motion in your photo, the better. You don’t want your model to be squinting trying to capture that perfect shot. Your model should be in complete control of where he/she stands, how they’re facing, and how they look overall.
The composition tips for photography aren’t that hard to follow. You just need to know how to use the composition tips that are already available to you. Some of these tips include keeping the background relatively light, shooting from the shoulder, etc. Keep practicing until you feel confident that you can do the job. There’s no reason why you can’t make good photos.
Remember, photography isn’t a hard and fast rule. It’s a method of learning. The more you practice, the better results you’ll get. Have fun with it!
Landscape Photography Tips
Escalante-20 Landscape
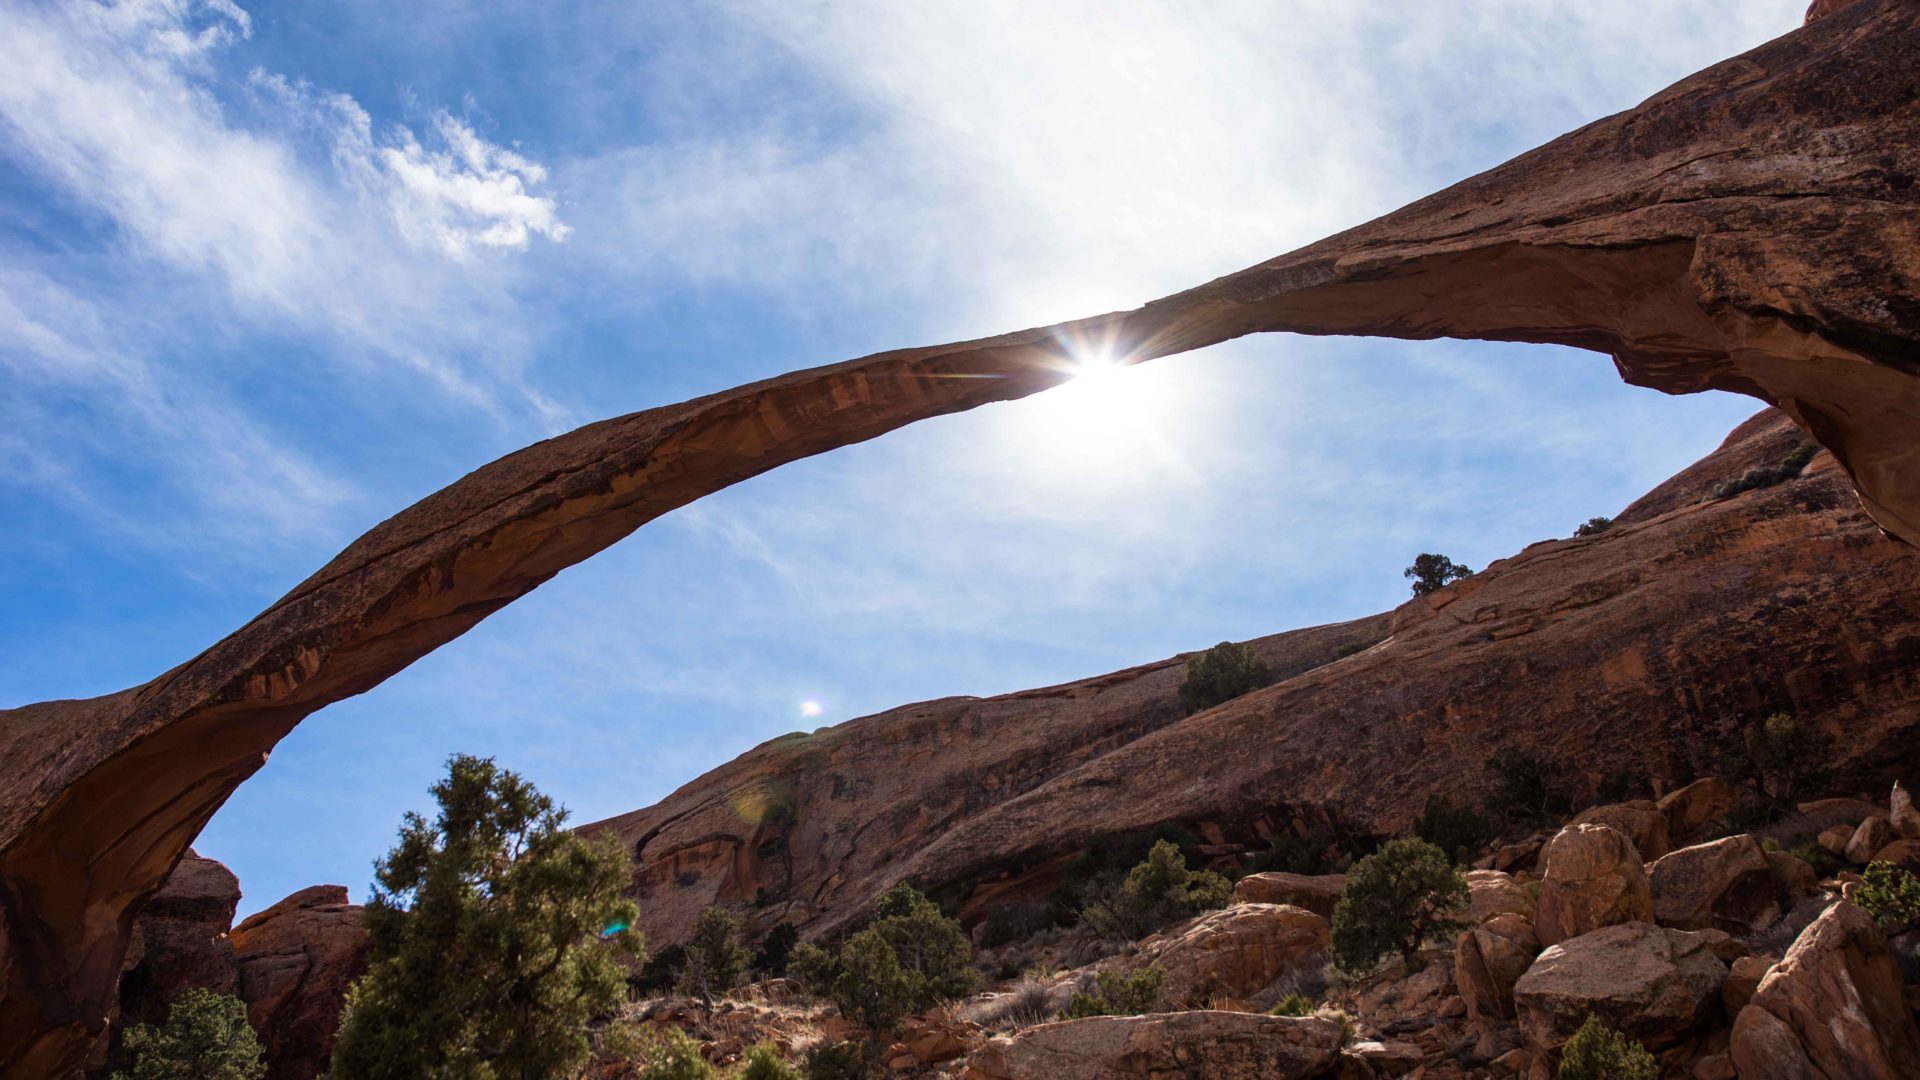
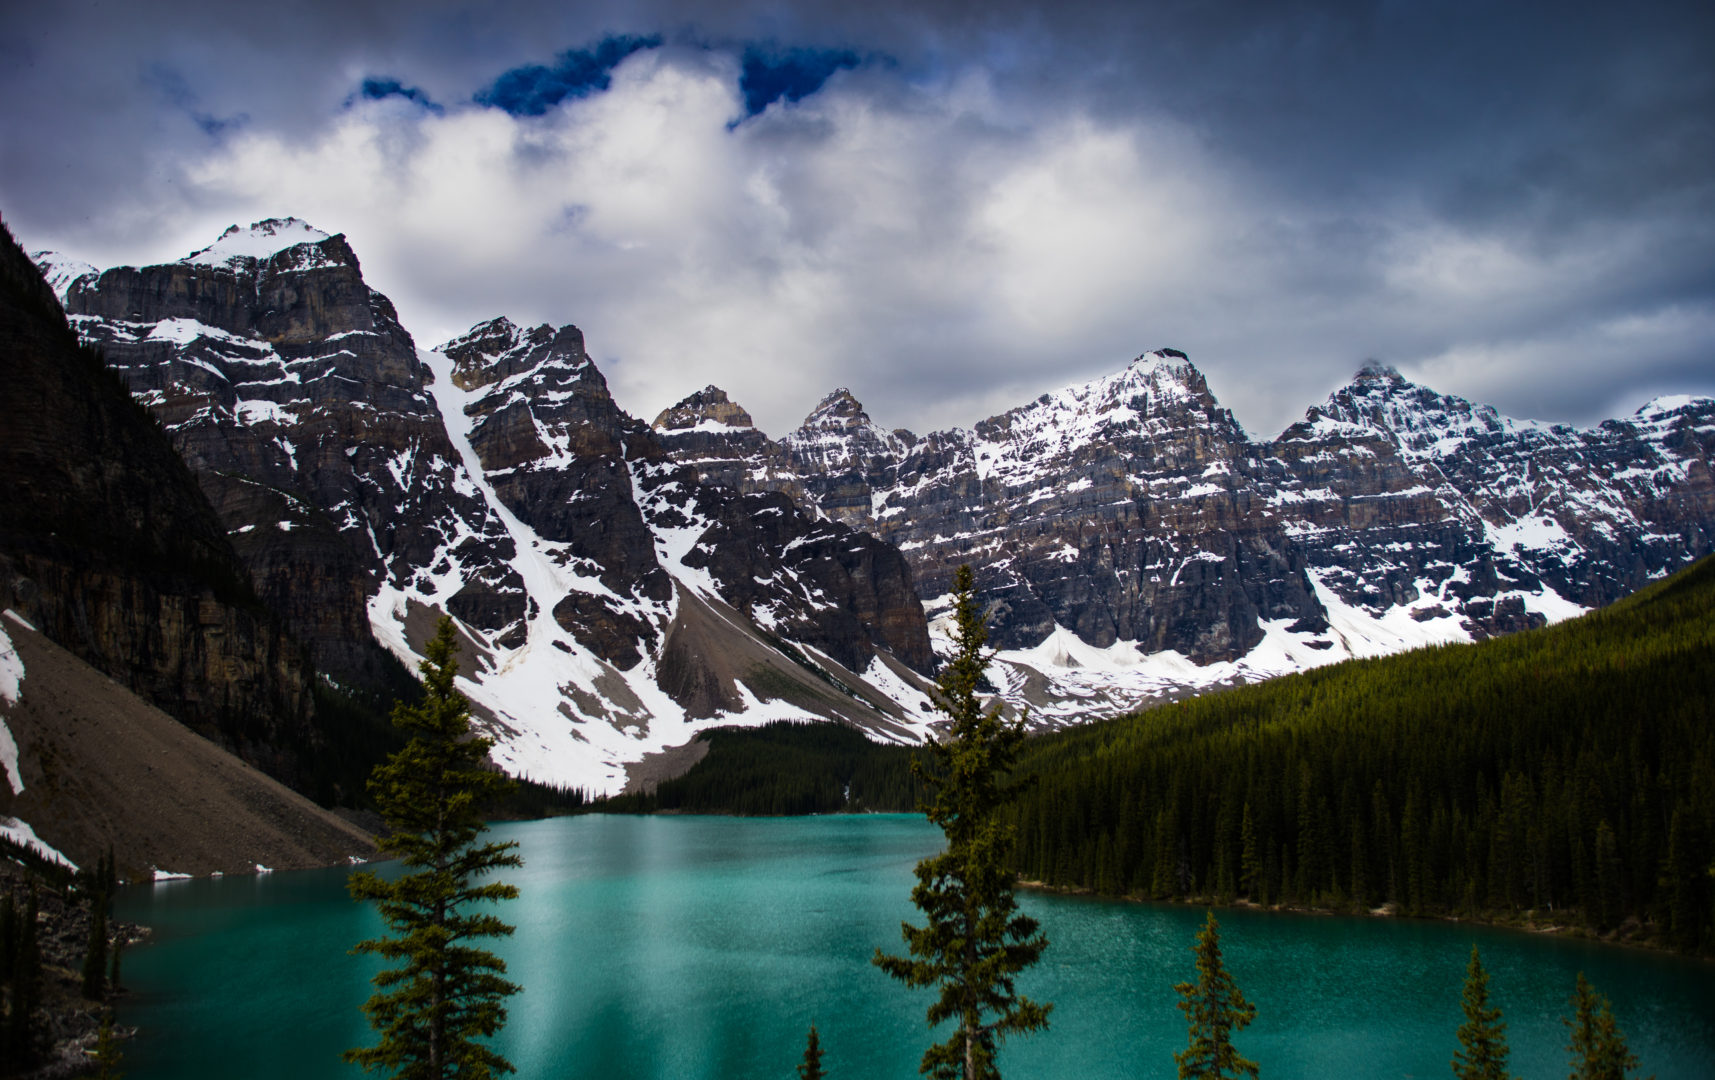
Landscape Arch
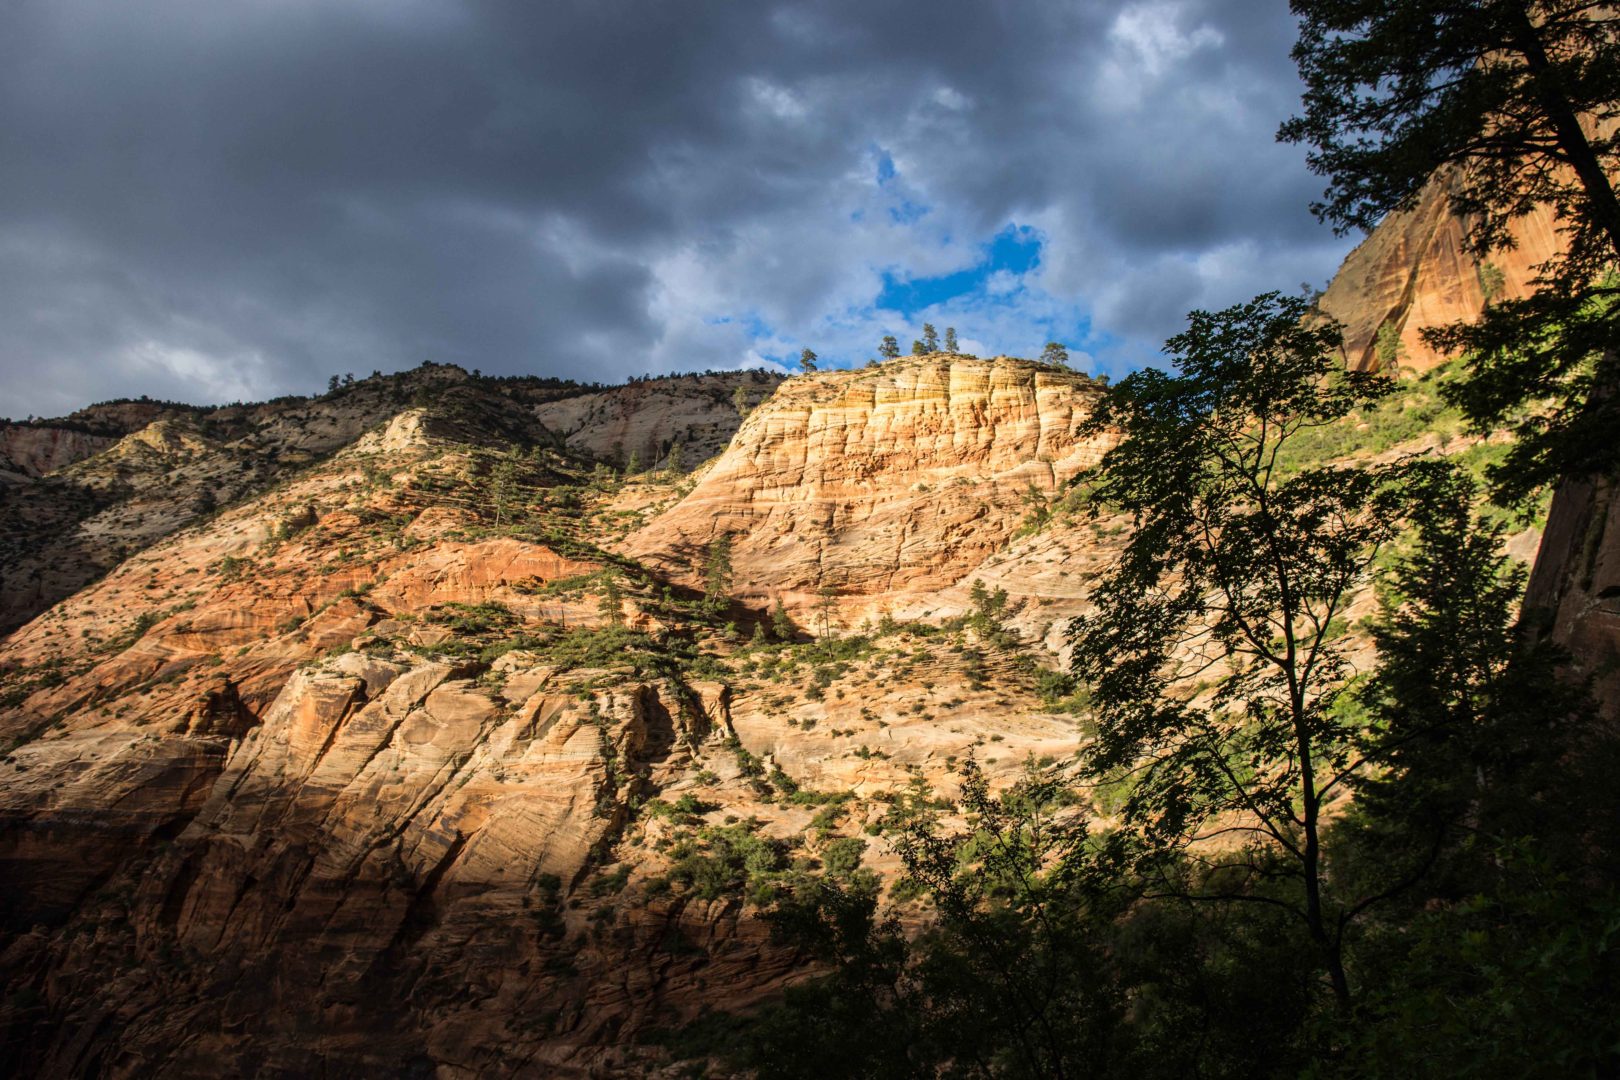
Stormy Cliffs
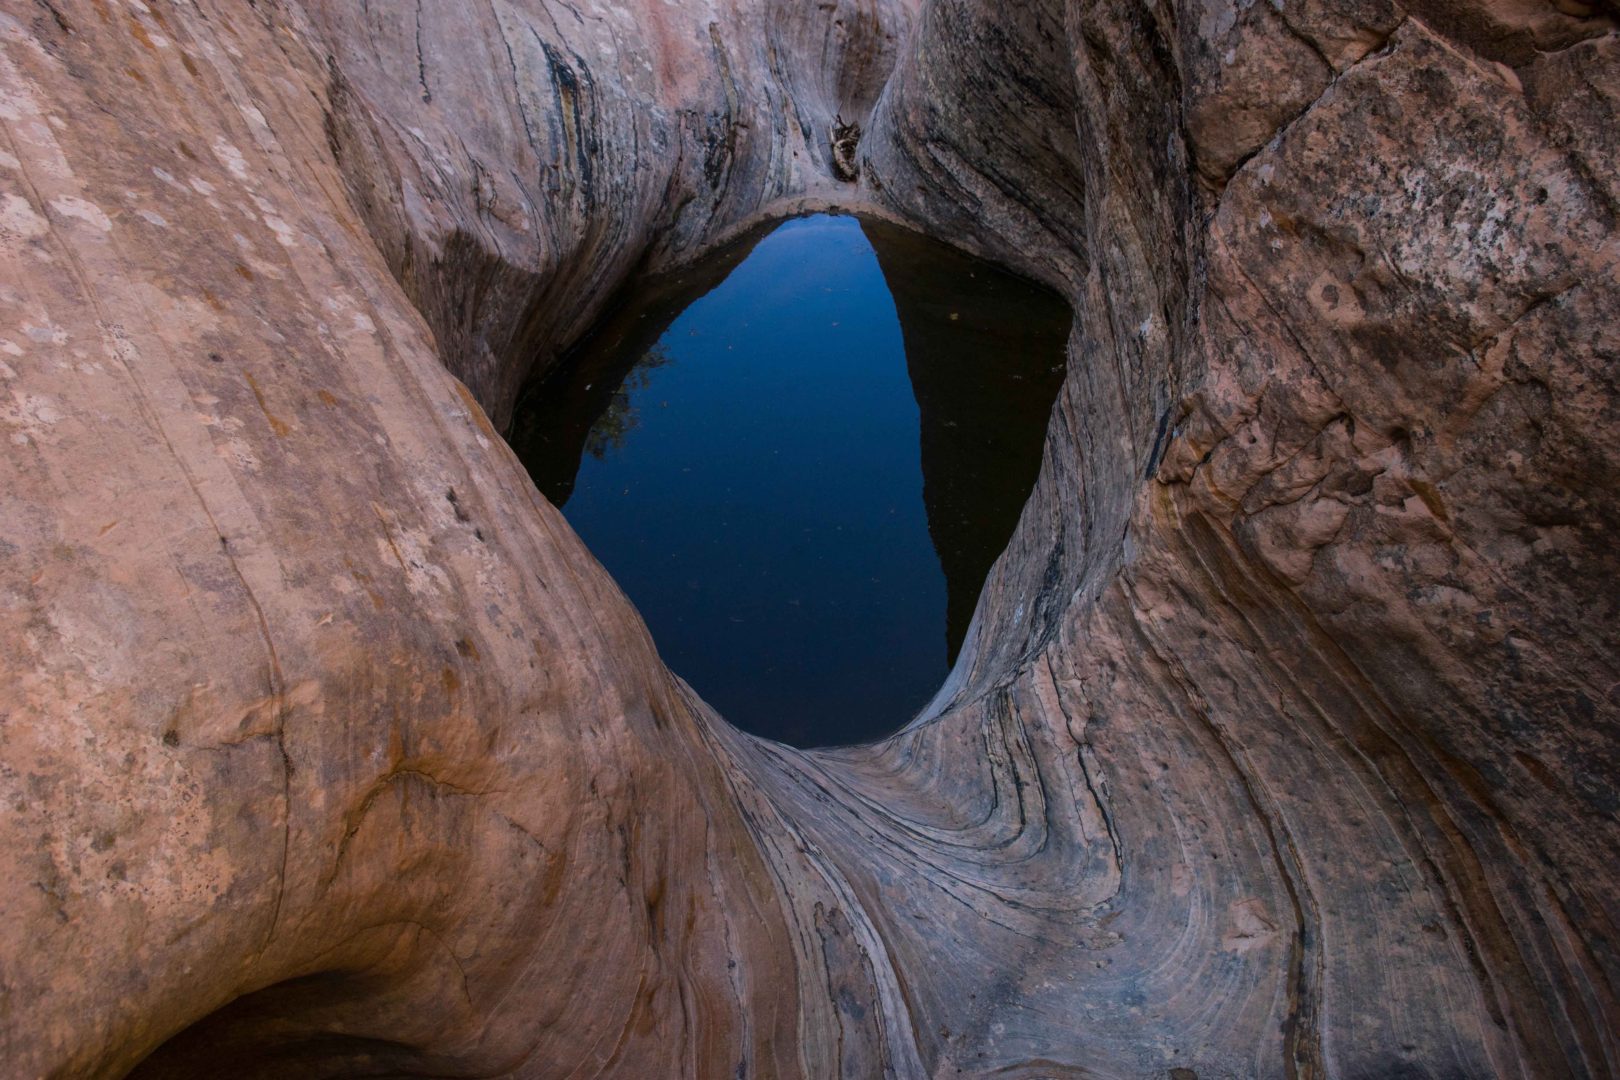
Calm Pool
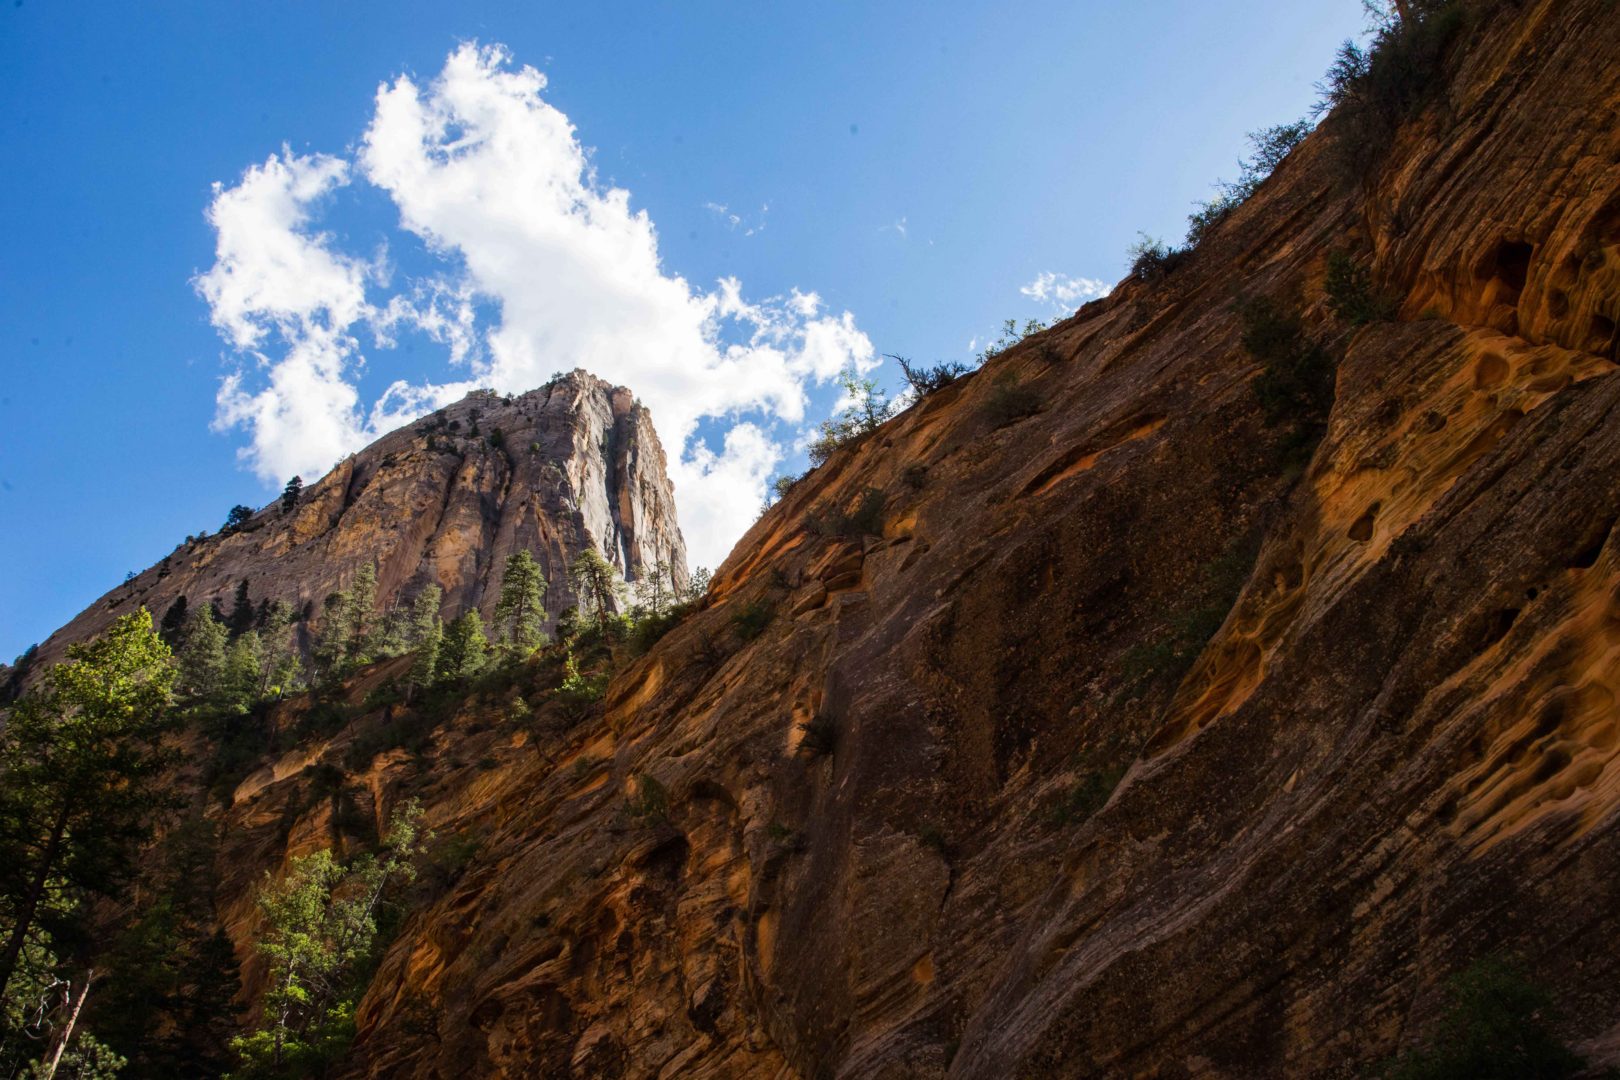
Cliff View Up
Landscape Photography
Adrian Landscape Photographer
Adrian Hallberg Landscape Photographer
0 Comments
Trackbacks/Pingbacks